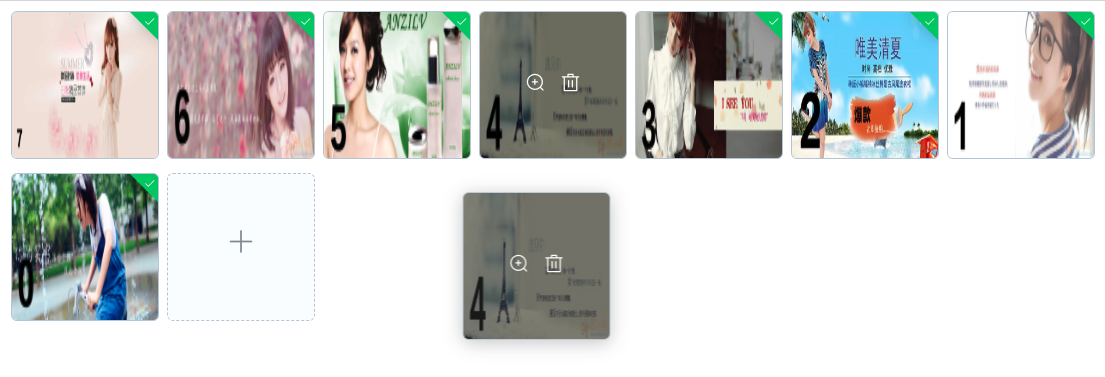
在改动很小的情况下,为多图片上传的el-upload增加拖动排序。无需自己渲染列表。注意一点fileList需要再onchange里自己获取。这个属性不是双向绑定的。
<template>
  <div>
    <el-upload ref="upload" :limit="99" :file-list.sync="fileList" :action="actionUrl" :headers="headers" :data="{ folder: 'image' }" list-type="picture-card"
    :on-preview="handlePictureCardPreview"
    :on-change="handleChange"
   :show-file-list="true"
    multiple>
      <i class="el-icon-plus"></i>
    </el-upload>
    <el-dialog :visible.sync="dialogVisible" append-to-body>
      <img width="100%" :src="dialogImageUrl" alt="" />
    </el-dialog>
  </div>
</template>
<script>
const envConfig = require('@/config/env.' + process.env.VUE_APP_NODE_ENV);
import { getToken } from '@/utils/storage';
import Sortable from 'sortablejs';

export default {
  data() {
    return {
      actionUrl: `${envConfig.baseURL}/uploadFile`,
      headers: {
        Authorization: getToken() || '',
      },
      dialogImageUrl: '',
      dialogVisible: false,
      fileList:[]
    };
  },
   mounted() {
      this.initDragSort();
   },
  methods: {
     initDragSort() {
       // 支持拖拽排序
       const el = this.$refs.upload.$el.querySelectorAll('.el-upload-list')[0];
       var that = this;
       Sortable.create(el, {
         onEnd: ({ oldIndex, newIndex }) => {
           // 交换位置
           const arr = that.fileList;
           const page = arr[oldIndex];
           arr.splice(oldIndex, 1);
           arr.splice(newIndex, 0, page);
         }
       });
     },
    handlePictureCardPreview(file) {
      this.dialogImageUrl = file.url;
      this.dialogVisible = true;
    },
    handleChange(file, fileList){
      this.fileList = fileList;
    }
  },
};
</script>
转载请注明:天狐博客 » Vue中el-upload增加拖拽排序的简单方法